Building the Raspberry Pi Infinity+
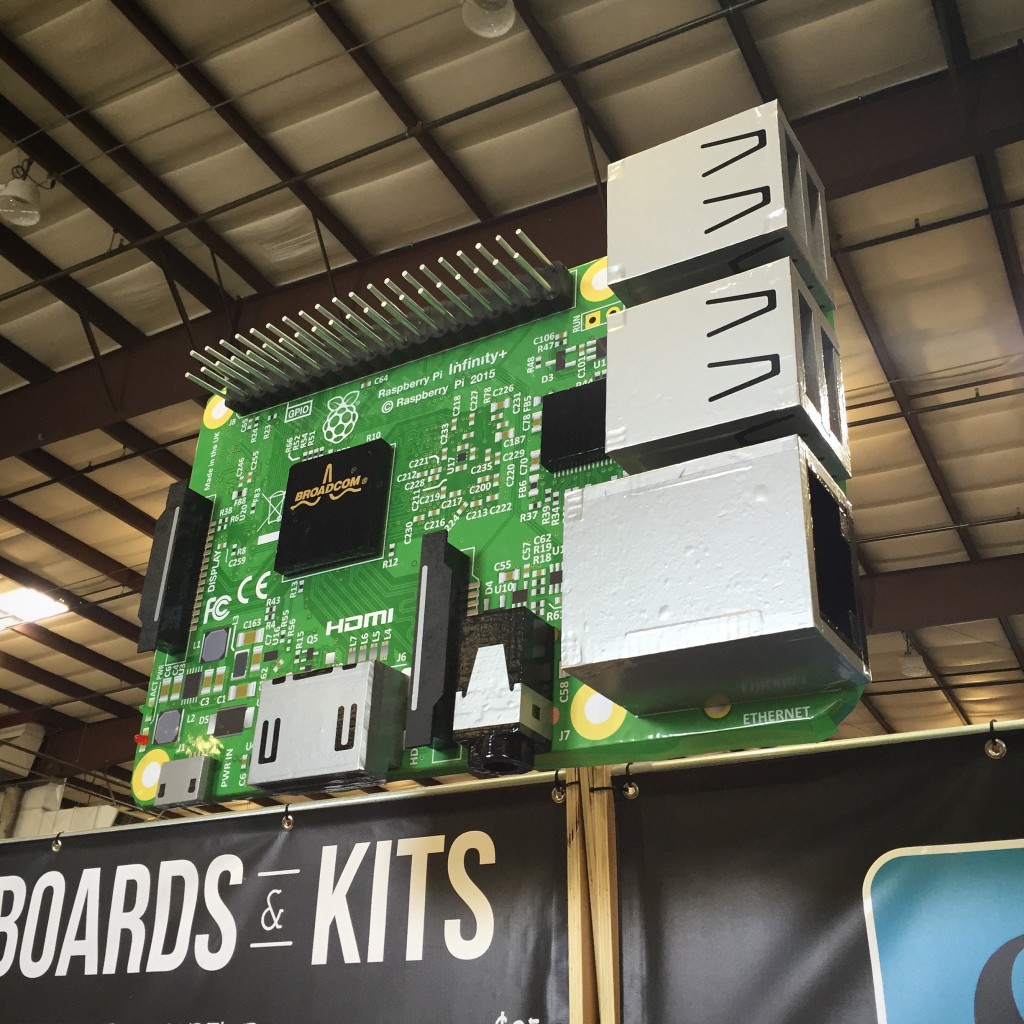
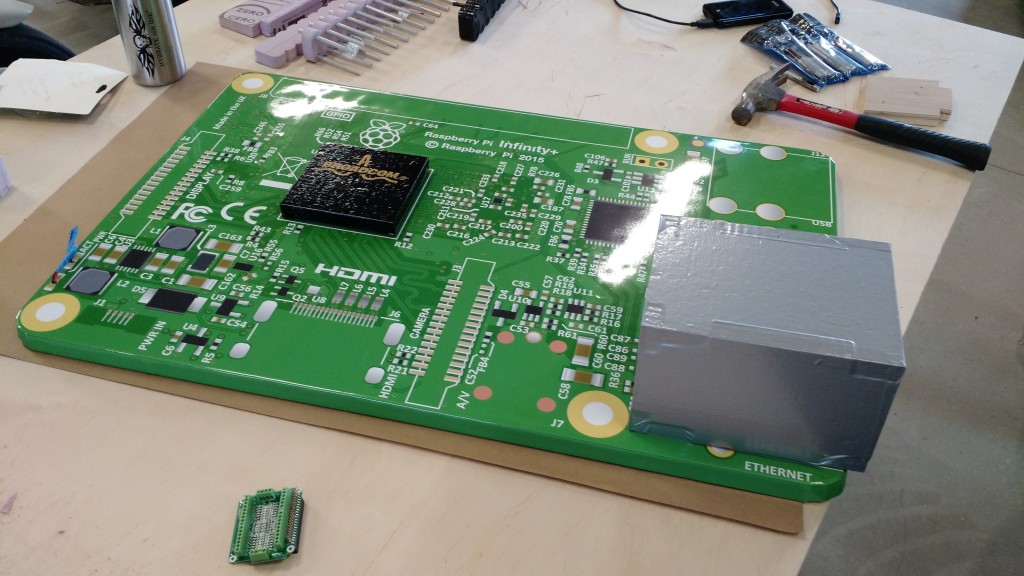
For Maker Faire Bay Area 2016 MCM Electronics (my current employer) was fortunate enough to secure a booth next to the Raspberry Pi Foundation where we could lend support by making Pi’s and kits available for purchase at the event. Of course, one does not simply arrive at Maker Faire without a project, so Christian Moist (MCM’s web marketing guru and all around awesome guy) and I teamed up to build the biggest thing to ever happen to the Raspberry Pi; the Raspberry Pi Infinity+.
Like all good projects, the idea for the Raspberry Pi Infinity+ was born several months before the event. So obviously we didn’t begin working on it until about a week before our pallets had to ship to California. Our design goals were fairly straightforward, make a giant scale (we determined 10x because easy math), fully functioning Raspberry Pi (and no, the idea to make a non-functional version never even crossed our minds.) Back in 2012 fellow Make: alumni John Edgar Park built the Arduino GRANDE, a comically large (6x scale), fully functional Arduino Uno which was completely awesome. We credit him with at least some of our inspiration.
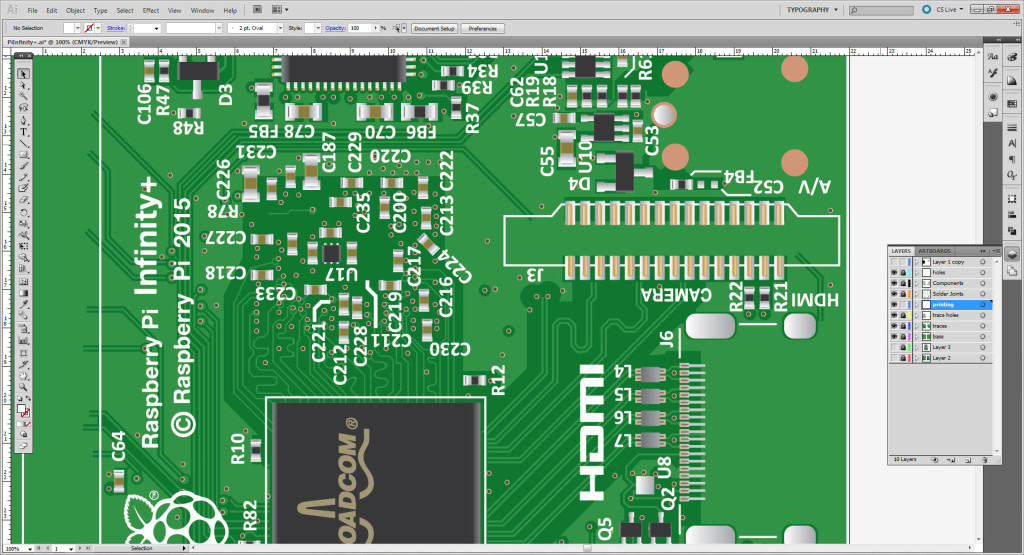
To Make the Raspberry Pi Infinity+, Christian painstakingly illustrated both sides of some high-res images of the Raspberry Pi 3 using Adobe Illustrator so it could be suitably scaled up on a poster. He captured every. single. detail. and it took forever. He drank much Cherry Pepsi during this step and wore some goofy glasses to reduce eyestrain.
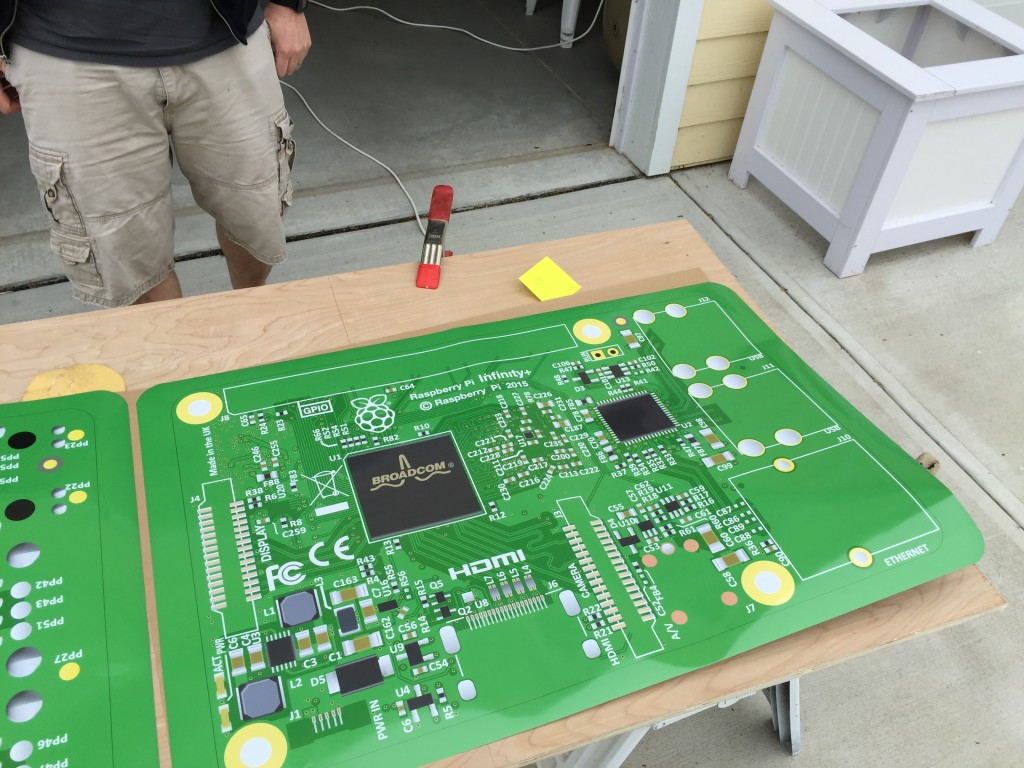
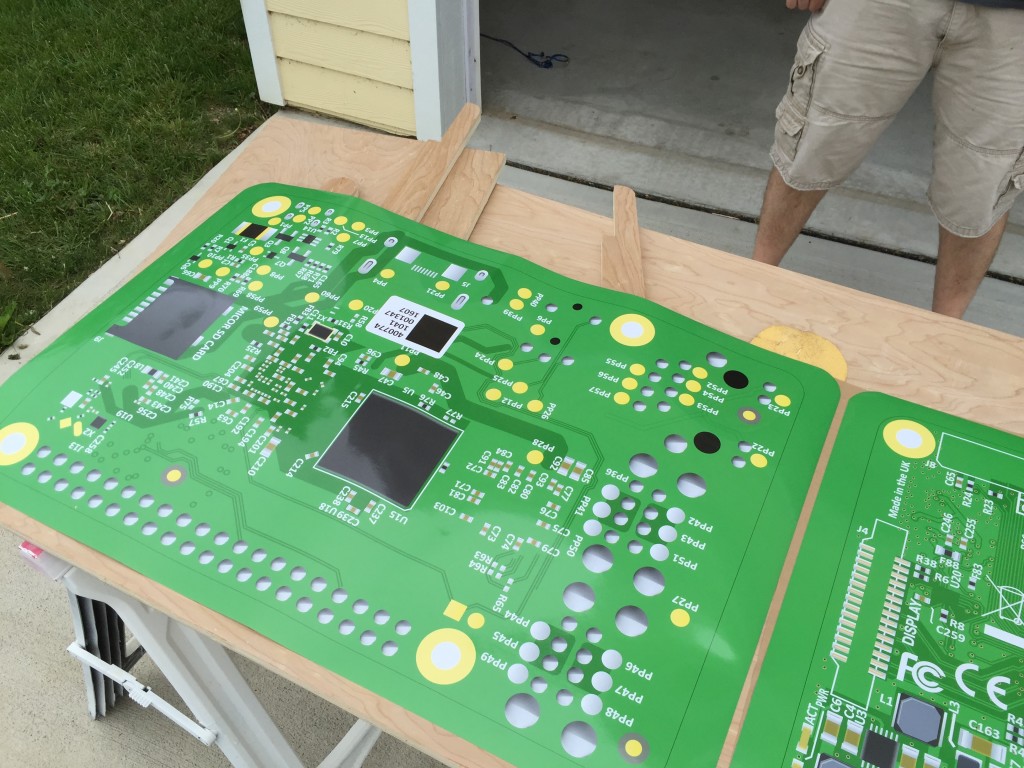
Next, we had the illustrations printed and laminated by a local company called Digital Fringe. Their tagline is “Saving Butts Since 1999” and they saved ours by turning these incredible prints around in under 12hrs while somehow managing to keep the price reasonable.
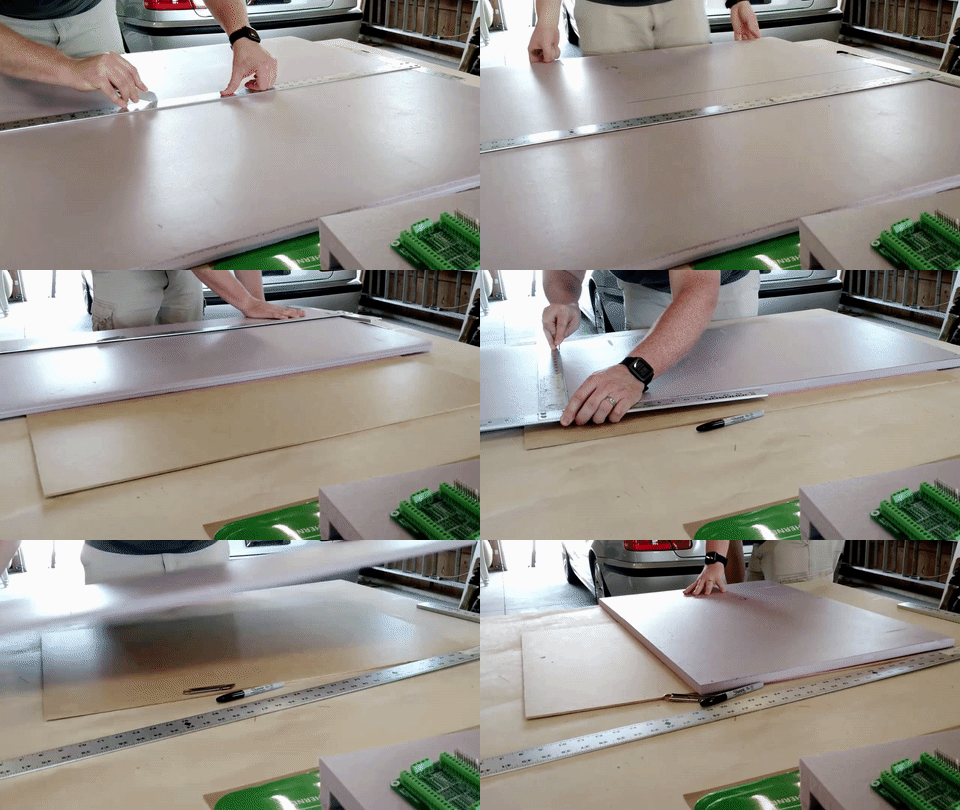
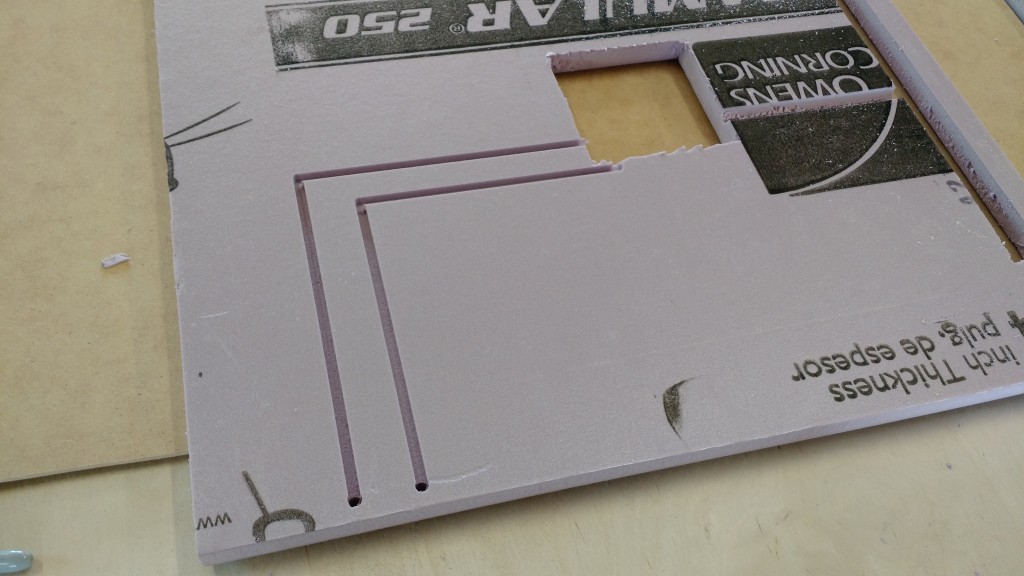
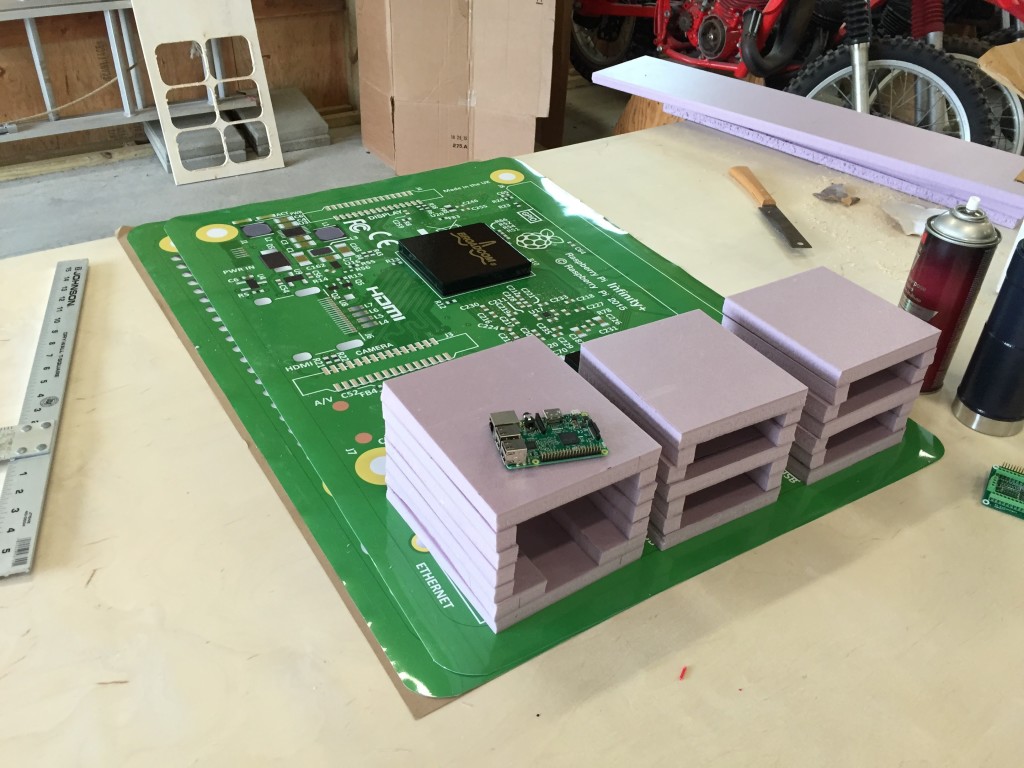
With the prints in hand, we measured and cut a piece of 1/4″ MDF to use for the backing and used 3/4″ Owens Corning FOAMULAR XPS foam for the body. A quick hint when cutting foam – score then break it like drywall. Cutting it with a knife creates an unsightly mess that looks like it was chewed by a caffeinated beaver. Once the pieces were cut I routed grooves in the foam for the wires by manually jogging a CNC router (not for the faint of heart.)
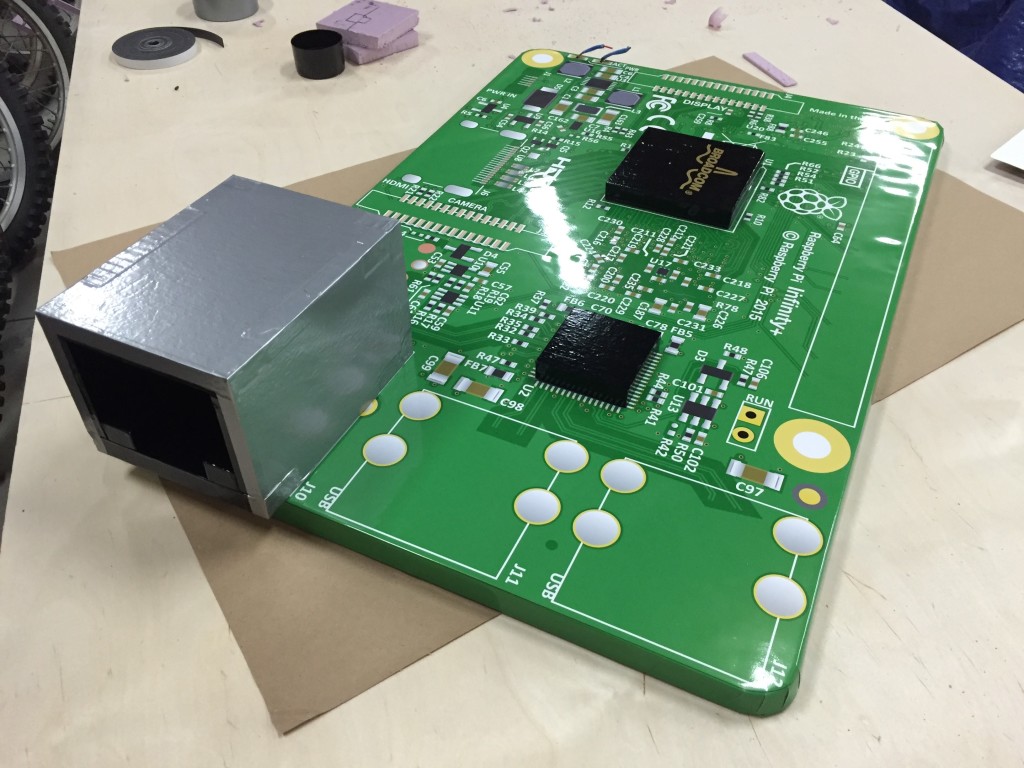
The hole in the middle is where the Raspberry Pi will live (under the Broadcom chip) and the slot on the right is for the GPIO ports.
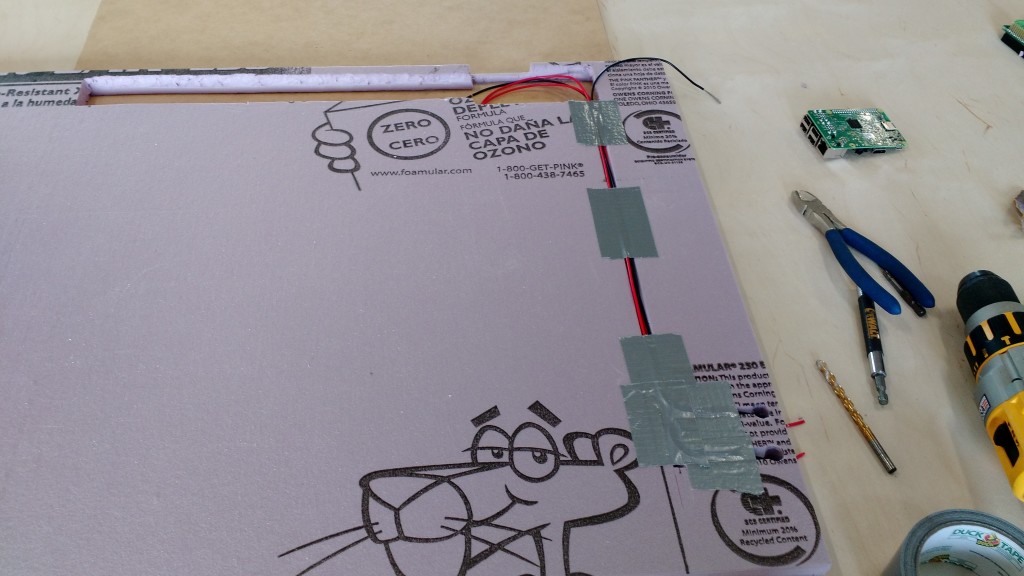
Next, we ran the wires for the status LEDs and held them down with duct tape so they wouldn’t move when laminating the foam to the MDF. Laminating was done with 3M Super 77 spray adhesive. This stuff is really sticky and works great with foam as long as you don’t spray it too close. Sadly, there are no pictures of this step because both Christian and I had our hands full. We then rounded the edges using a bandsaw and made sure the foam and MDF were flush using a palm sander. Once the core was laminated we glued the poster to each side using the same spray adhesive. We took extra care during this step to ensure everything was lined up and looking good before being permanently adhered (again, no pictures since we were out of appendages.) This was quite possibly the most stressful part of the entire build. Once everything was glued up we trimmed the edges of the poster and folded them so that each edge overlapped. At this point we knew this thing was going to be completely awesome.
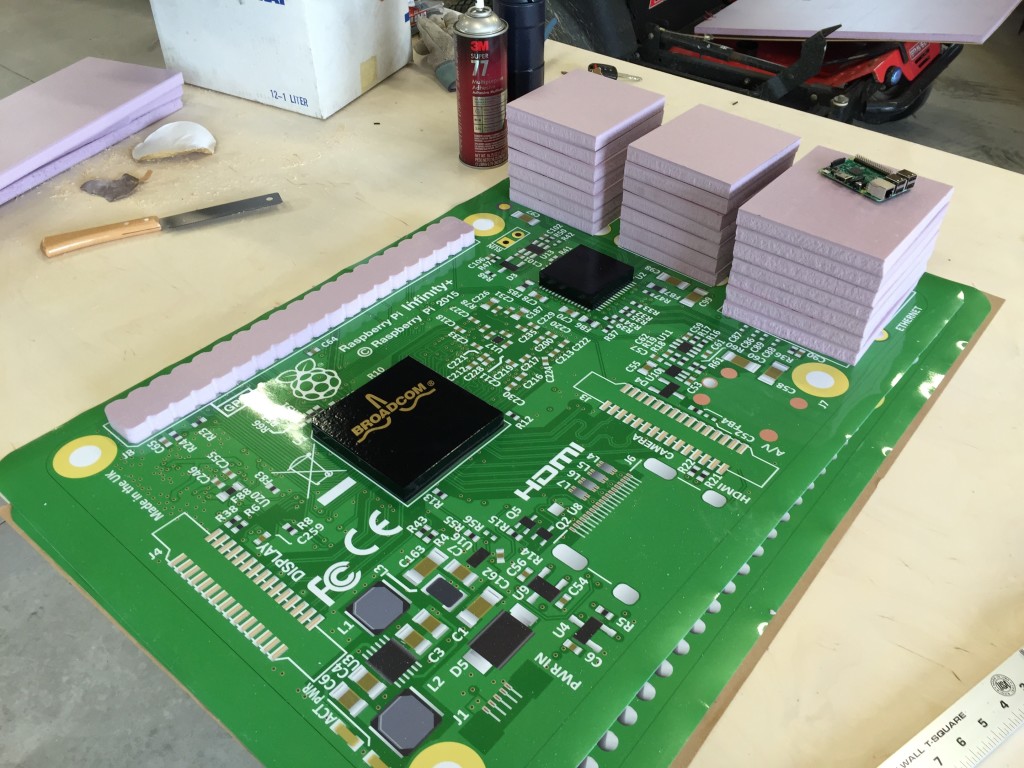
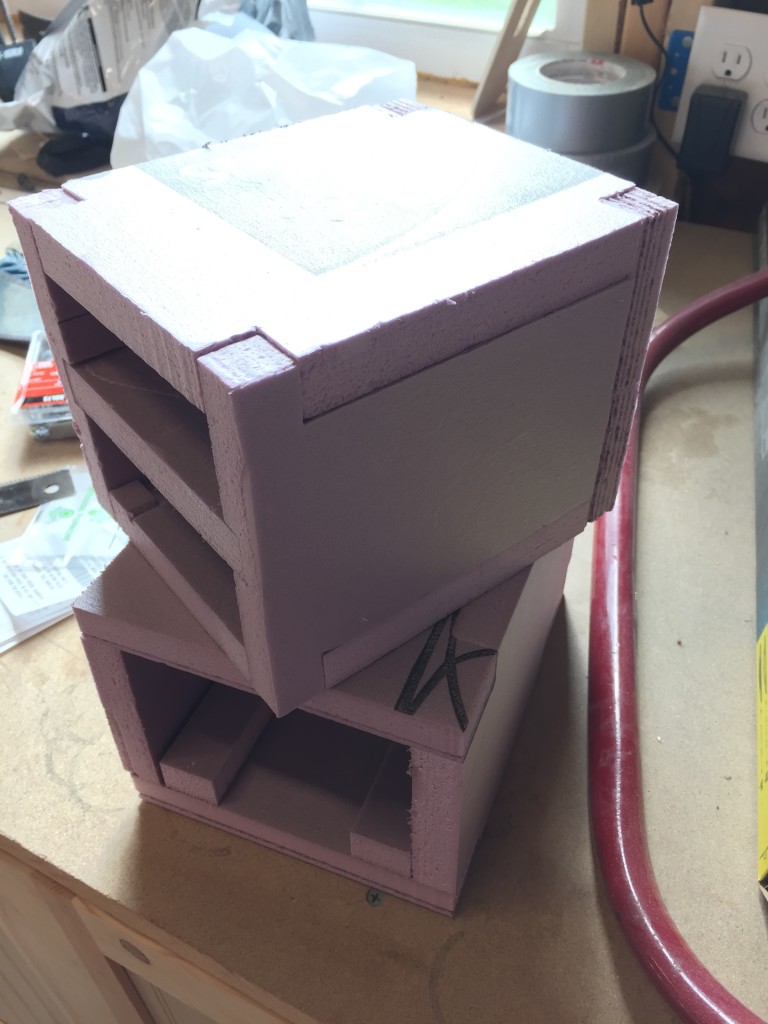
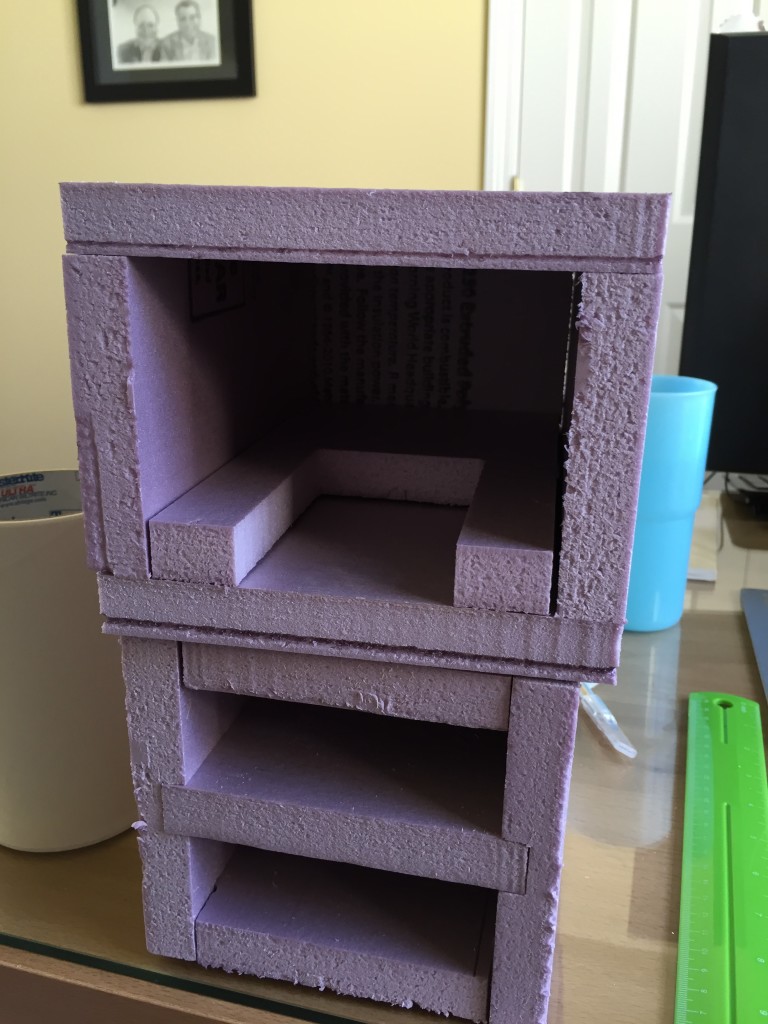
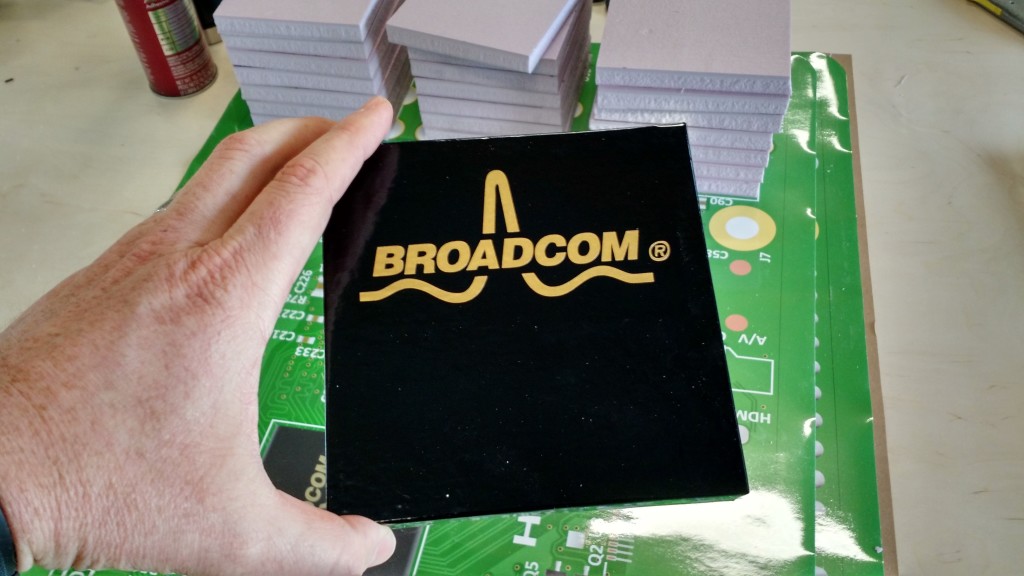
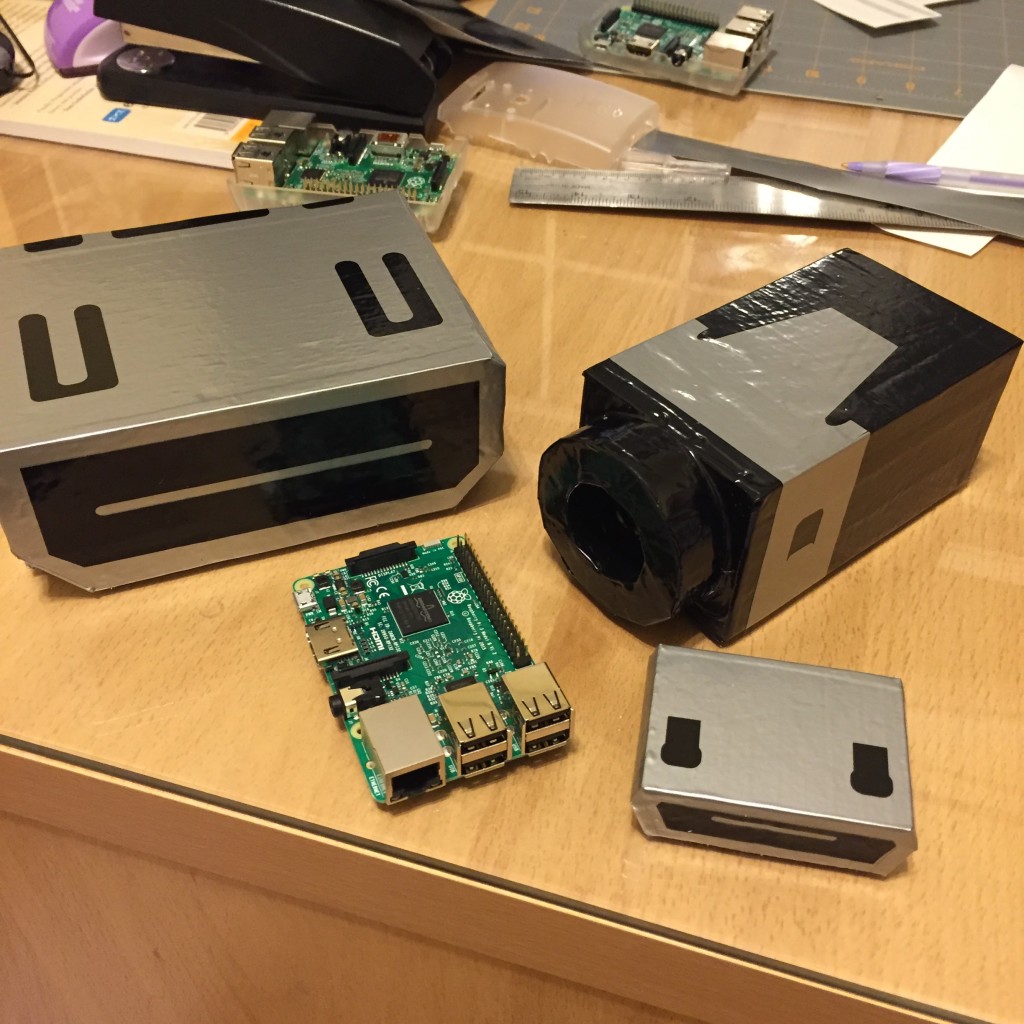
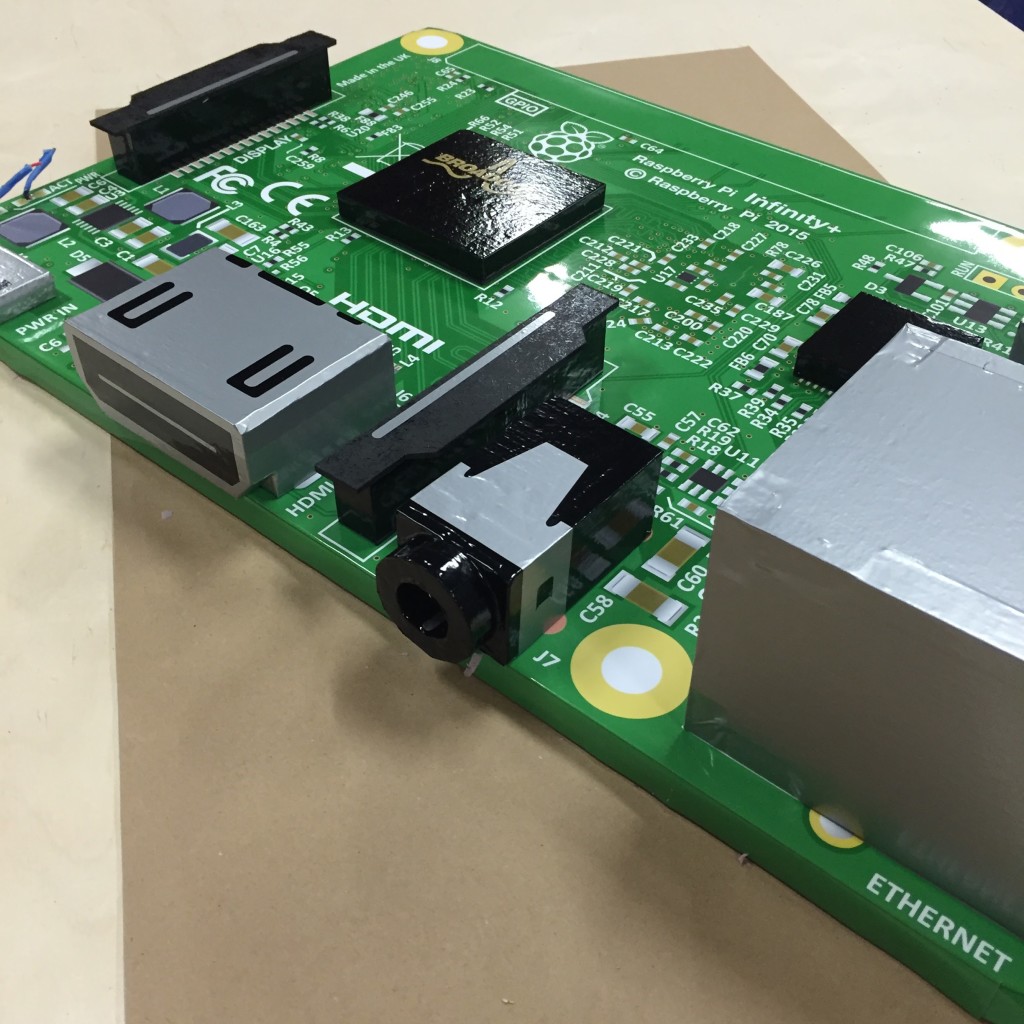
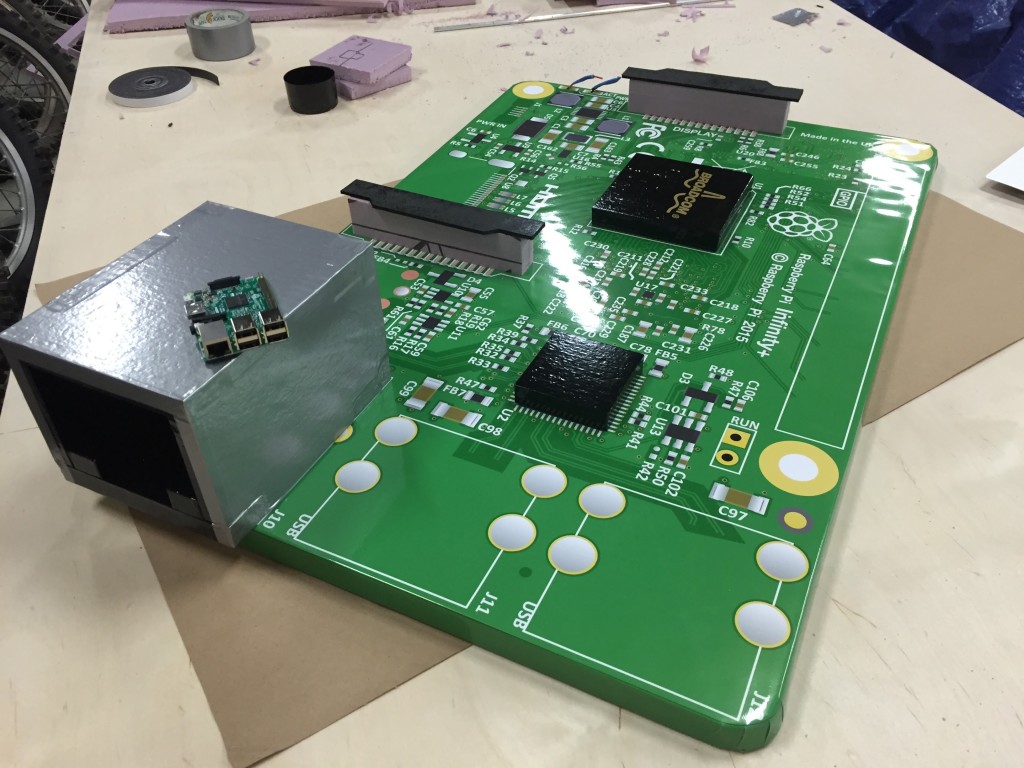
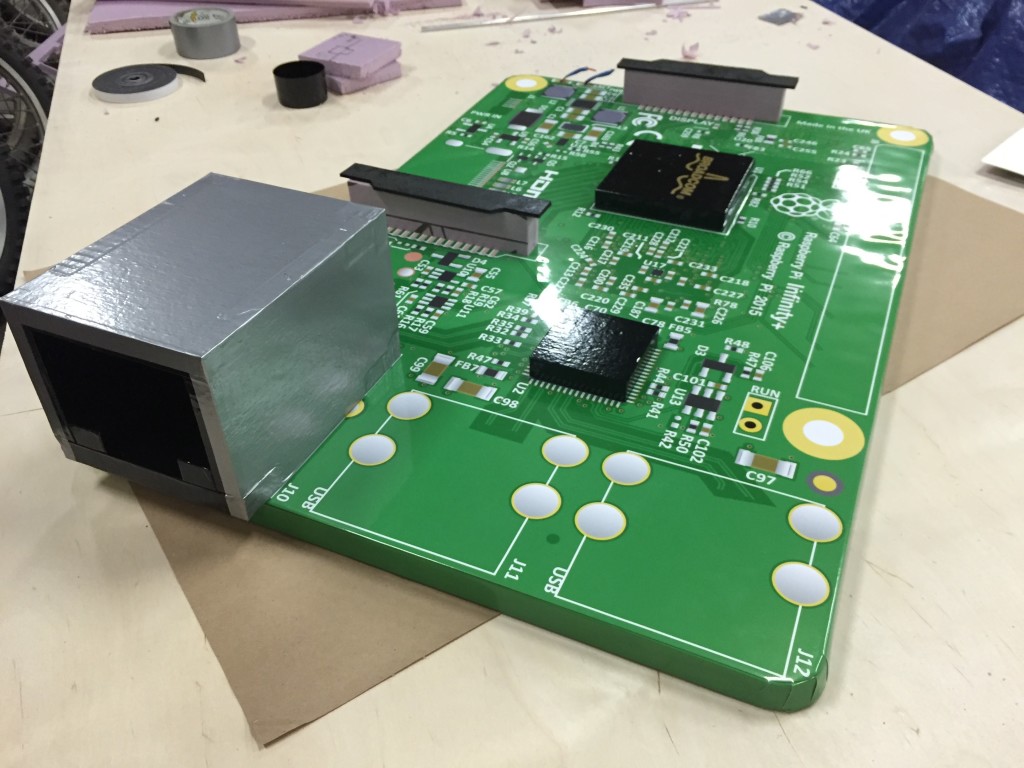
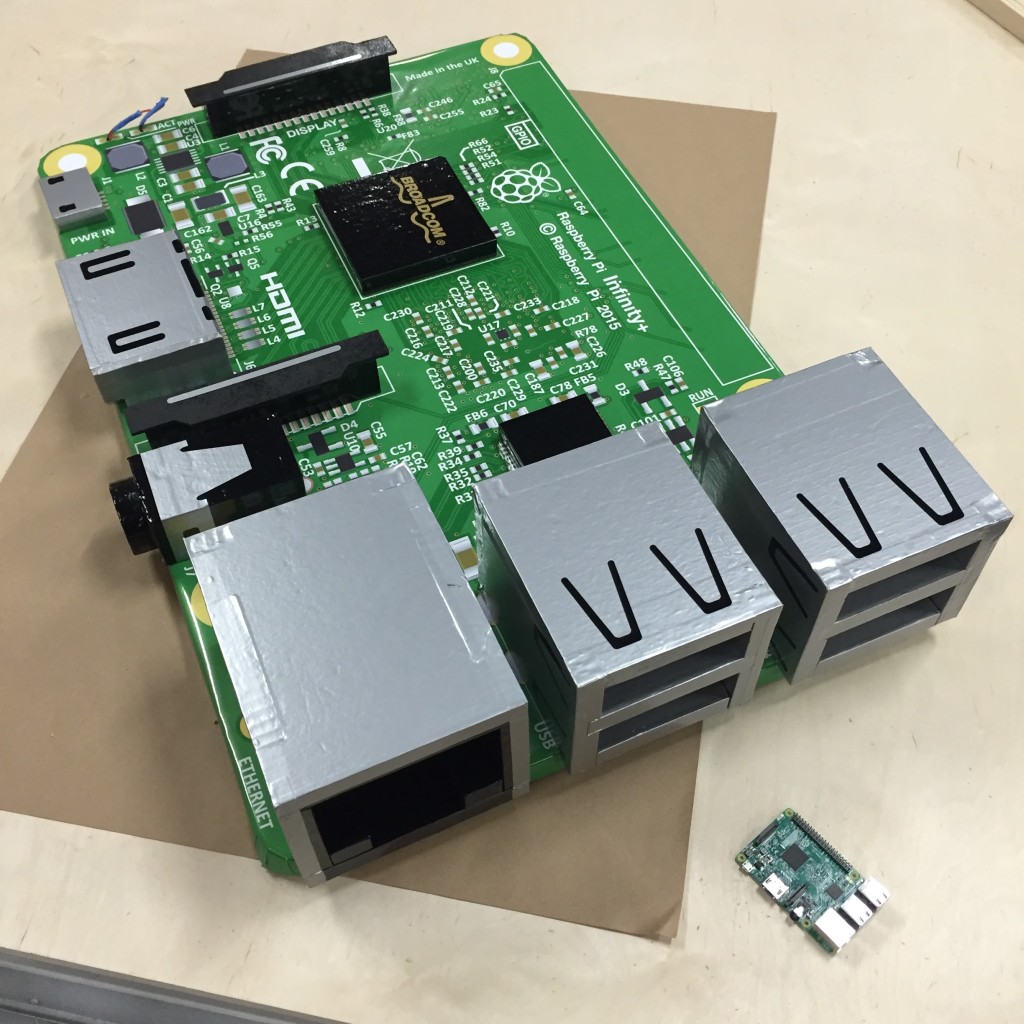
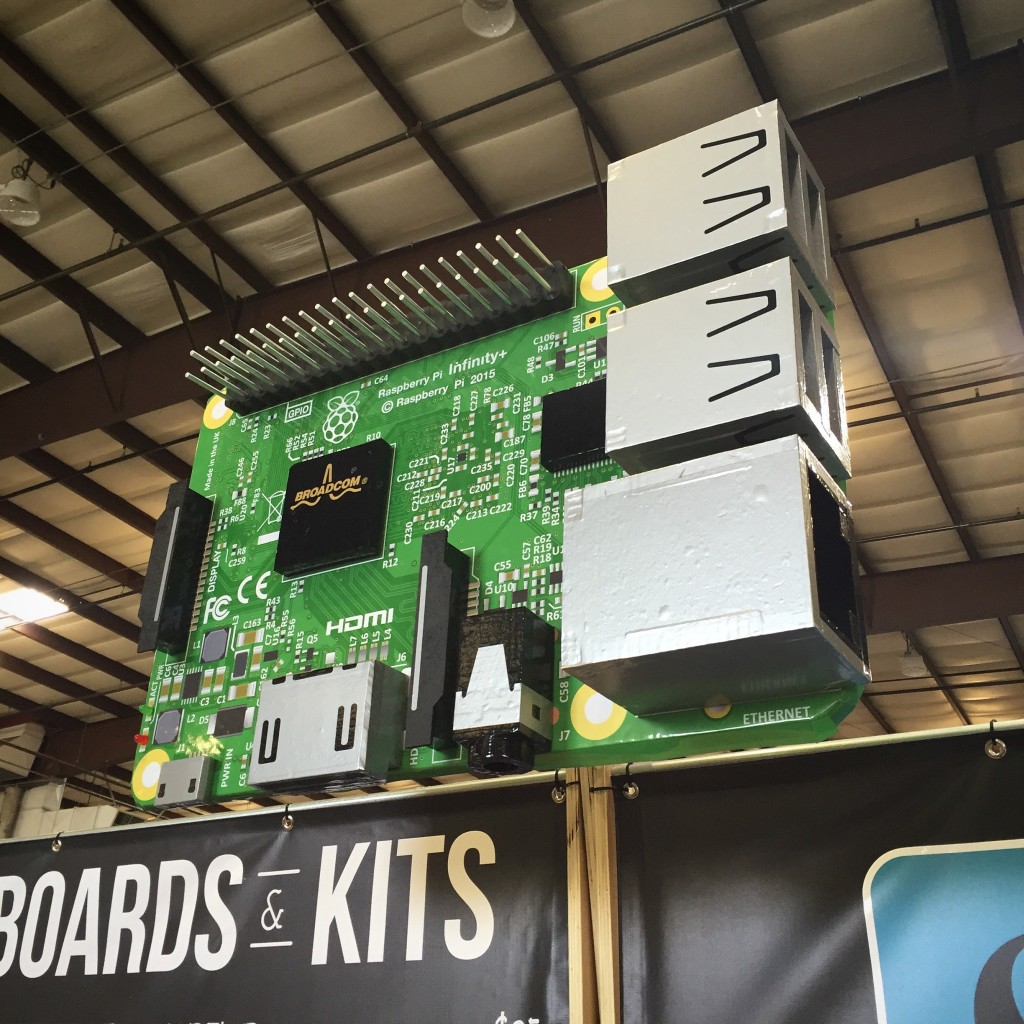
With the core complete, we started on the ports and other 3D features. Originally the ports were made of stacked foam but Christian decided they weren’t complicated enough and made some Japanese joinery versions on the CNC machine (joking aside, the layers were visible through the vinyl and made them look weird – the joinery versions covered much better.) He then used his vinyl cutter (that he persuaded his wife to let him purchase by making her a recycling sticker.. true story) to create a wrap which was applied each port individually. These came out shockingly amazing, as did the Broadcom chip with its gold logo. You’d think we knew what we were doing!
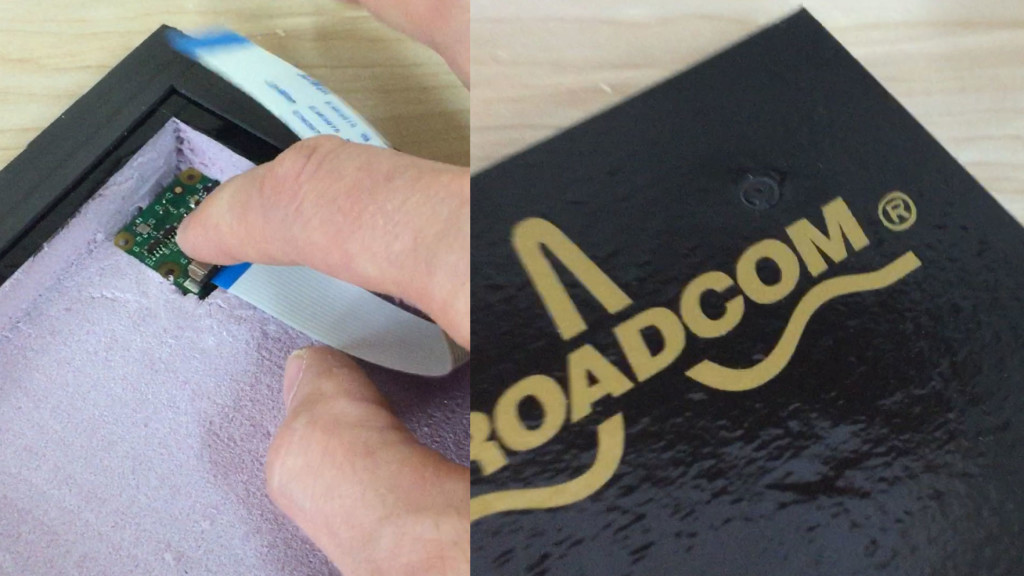
The ports were secured into place using 3M VHB tape. The Broadcom chip is secured with magnetic tape and the back was hollowed out (again by manually and unsafely jogging the CNC machine) to provide a place for the Pi wiring, and Raspberry Pi Camera so we could do a time-lapse of the event (by a Pi, from the Pi.)
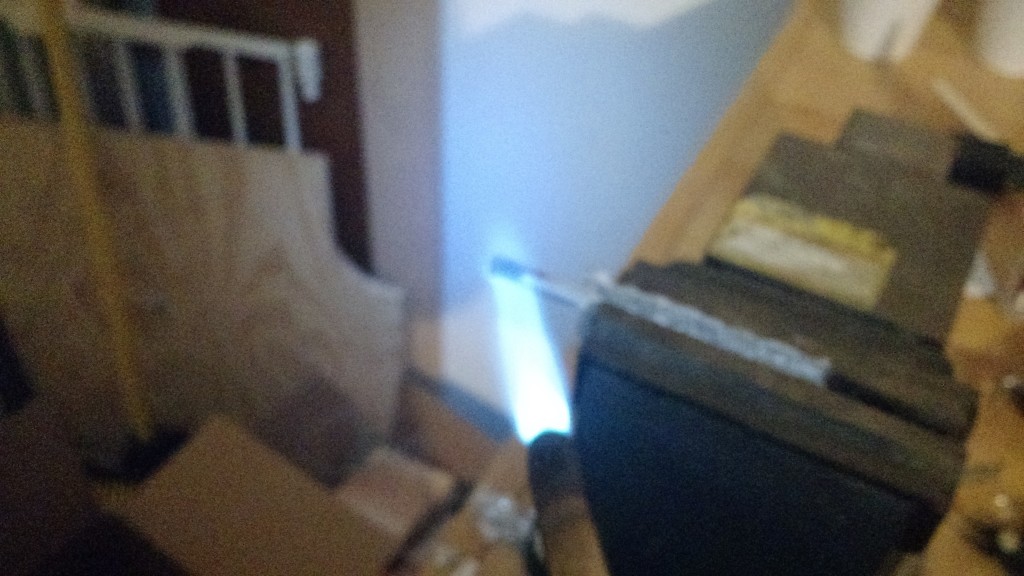
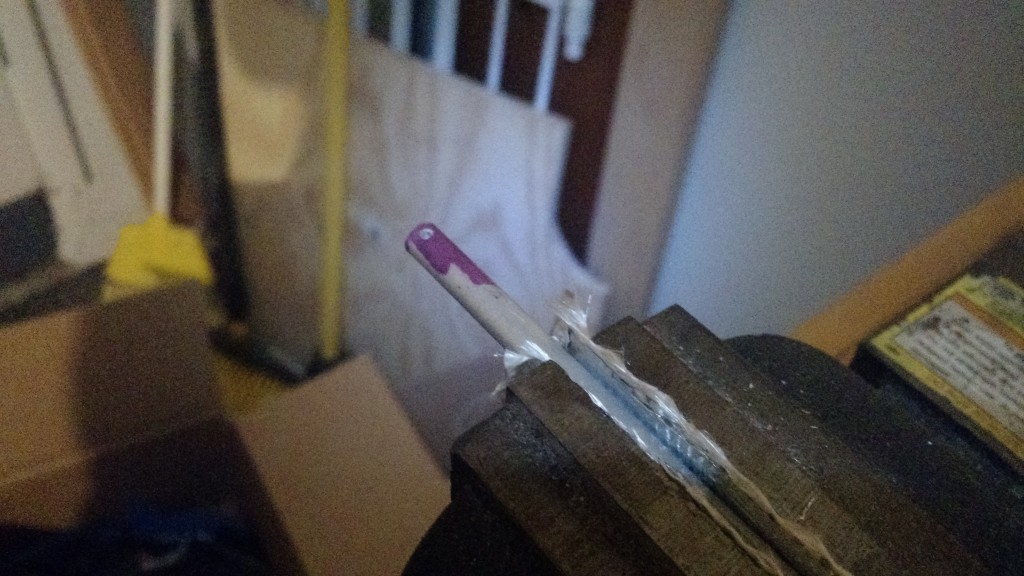
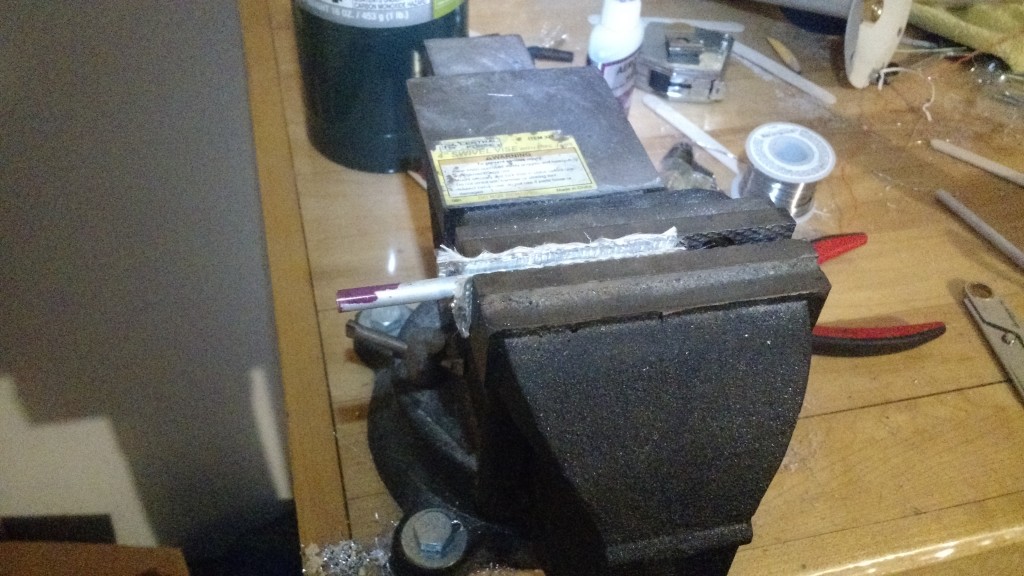
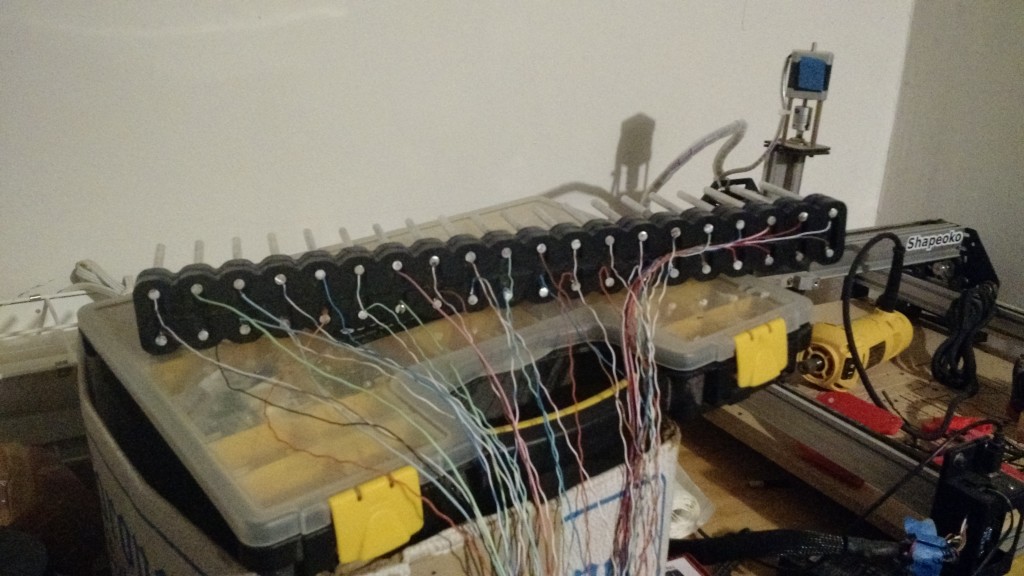
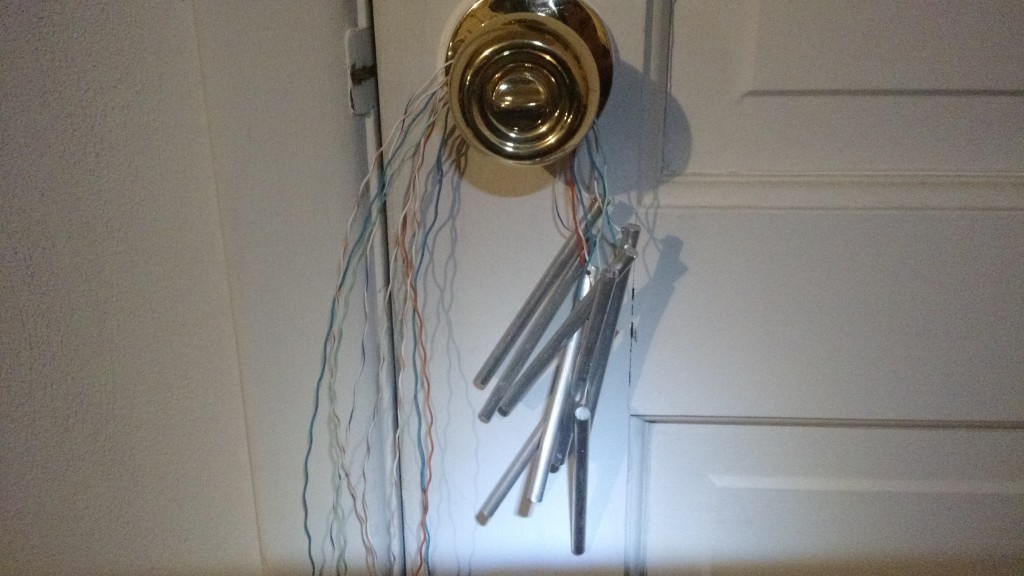
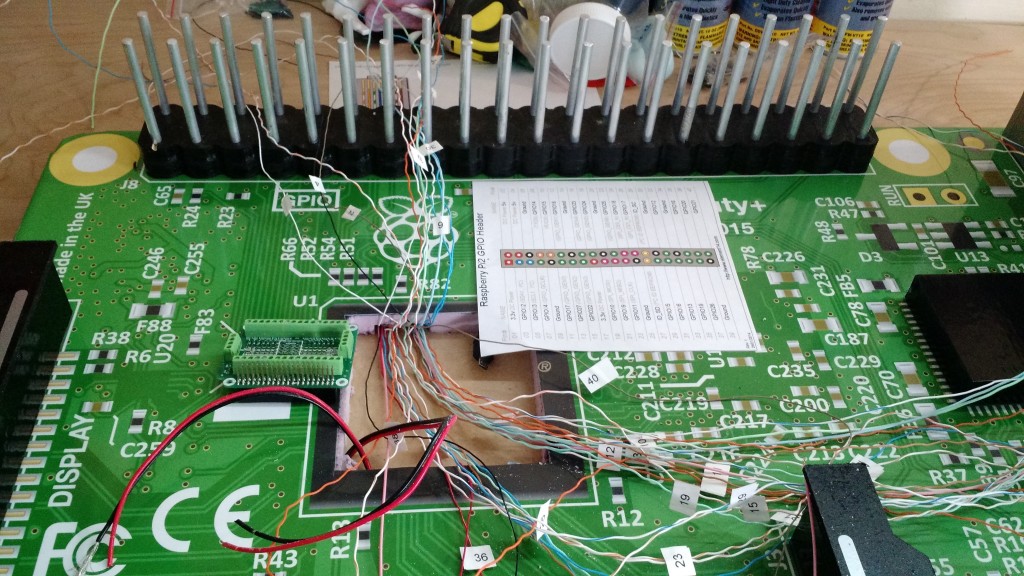
Finally, it was time to start on the GPIO ports. Originally we planned to use aluminum arrow shafts but we couldn’t get the paint cleaned off (and we really had no idea how we were going to solder wires to them.) Fortunately, Christian was able to find some 1/4″ aluminum rods at the local hardware store which which seemed like a much better idea. I cut the rods down on a band-saw and we created a header pin holder on the CNC machine out of plywood (we tried foam but it wasn’t rigid enough.) Soldering wires to the pins was quite a chore. I tried sanding the rods, applying flux, and just about every other trick I could think of but couldn’t get the solder to stick. In a fit of either mild rage (or genius) I drilled a 1/16″ hole 75% through the rod and potted it with solder by heating it with a propane torch. Then I dipped the wire into the molten solder and removed the heat, allowing the solder to solidify. While the solder isn’t exactly bonded to the aluminum, it does provide a strong, conductive way to attach the wire. This process was washed, rinsed, and repeated for all 40 pins (which is a lot.) I think I started at 11pm and finished around 3am..
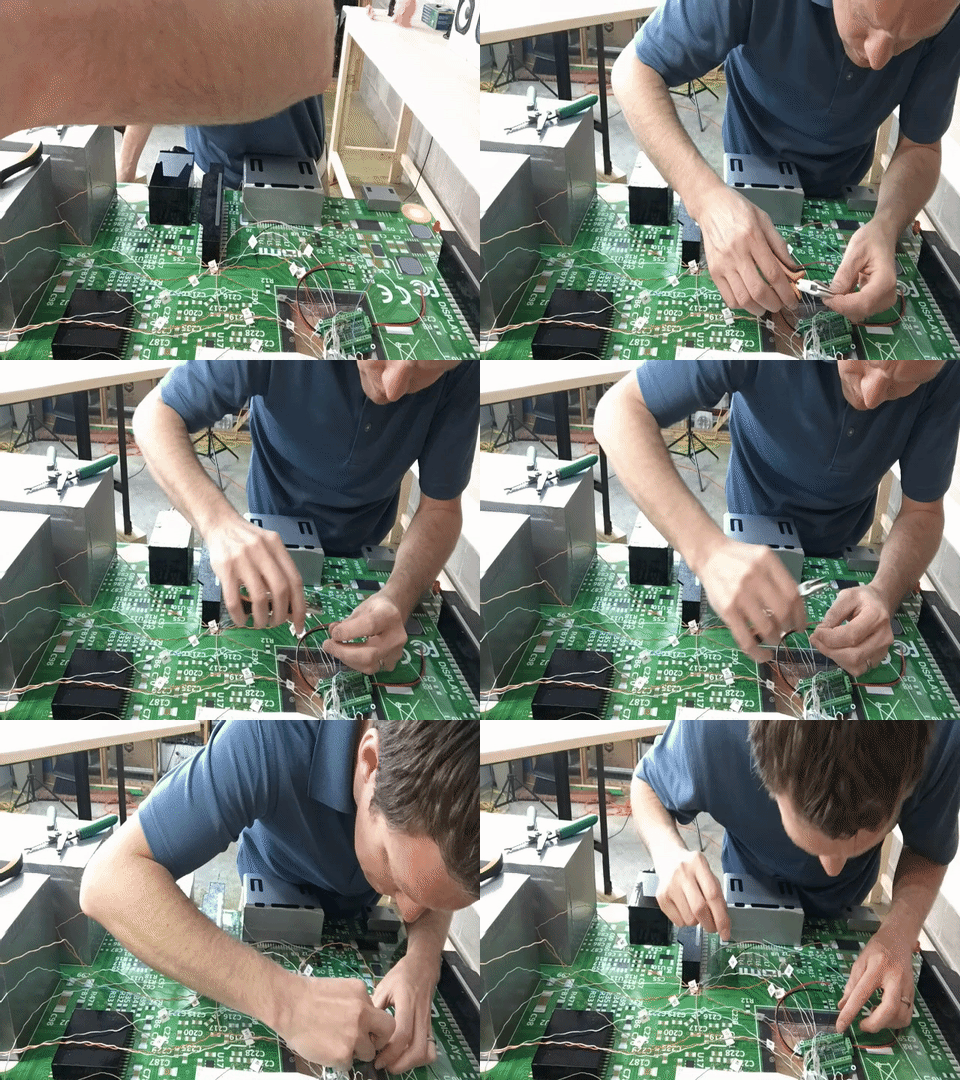
How do you attach 40 individual wires to a Raspberry Pi? With a Pi EZ-Connect HAT from Alchemy Power (available at MCM Electronics of course.) The HAT breaks out screw terminals for each pin as well as multiple ground, 5V, and 3.3V outputs (which are how the LEDs are connected.) Each wire was labeled and pulled through the CNC’d channel with a zip-tie and tape lasso thing that I MacGuyvered together. Here’s a GIF of Christian doing the easy part of the wiring.
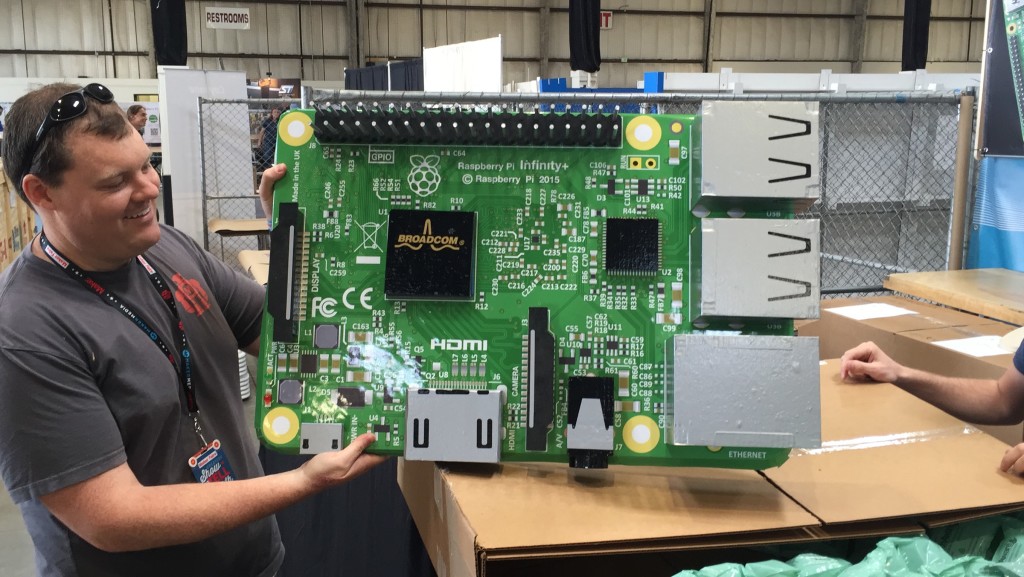
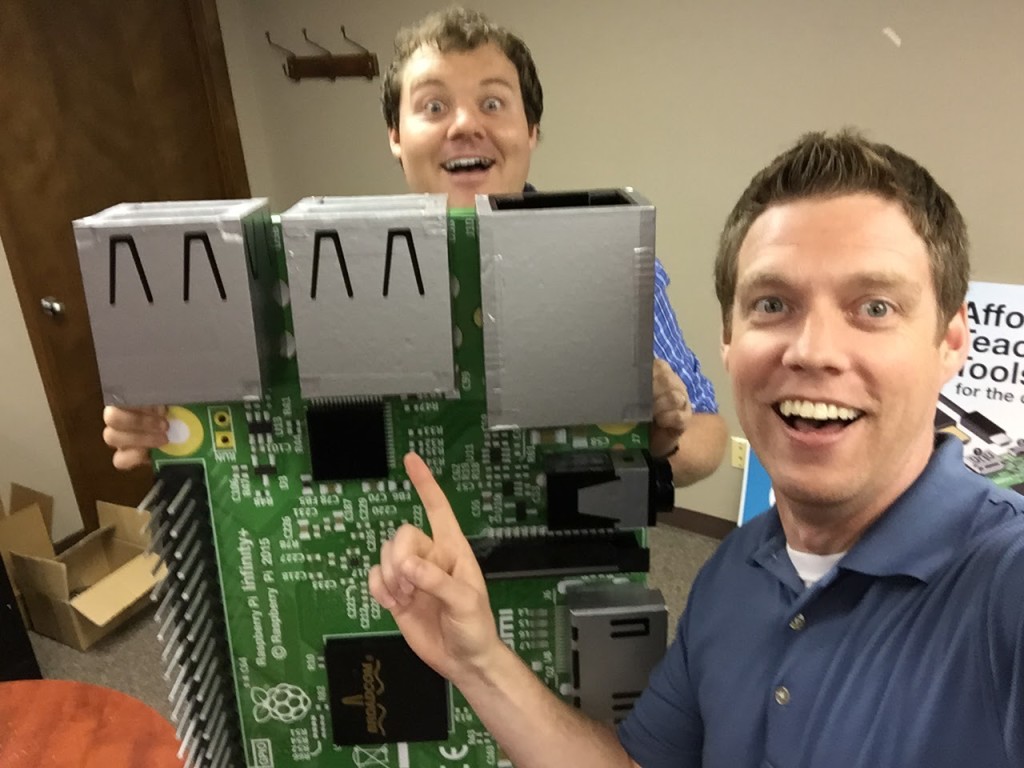
Finally, the Pi Infinity+ was complete – the day of our deadline. We celebrated by taking selfies then I fabricated a box so we could ship it with the rest of our items to California. I should probably add that like all good Maker Faire projects we didn’t *actually* test it first to see if it worked. I tested conductivity of the GPIO pins but other than that it had never functioned.
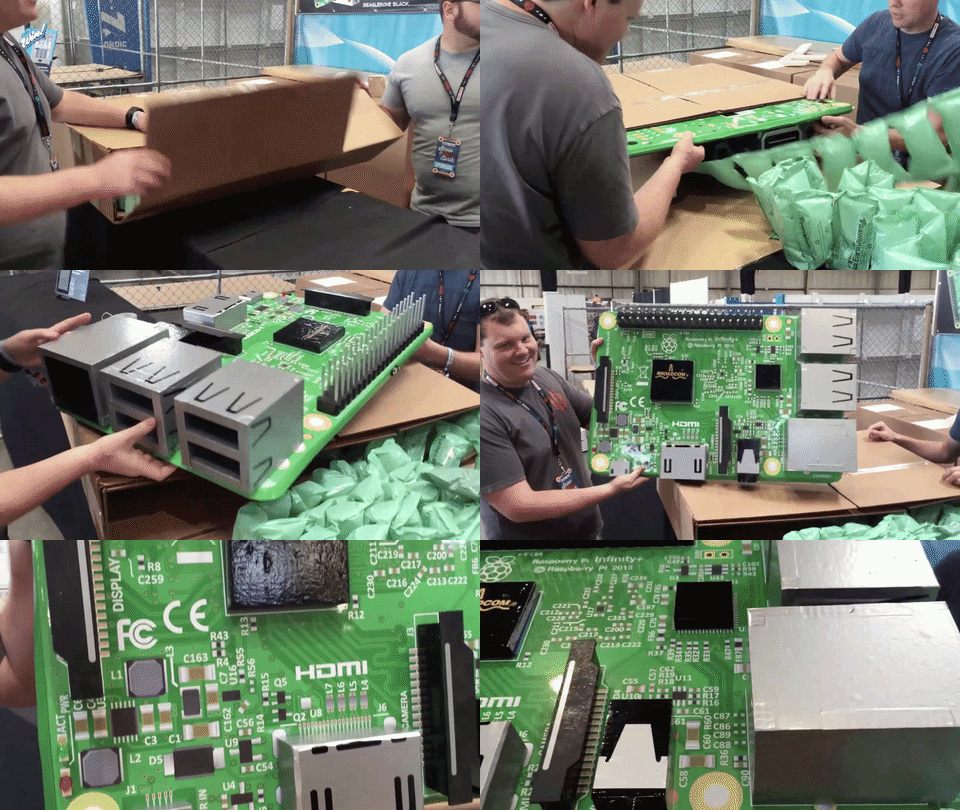
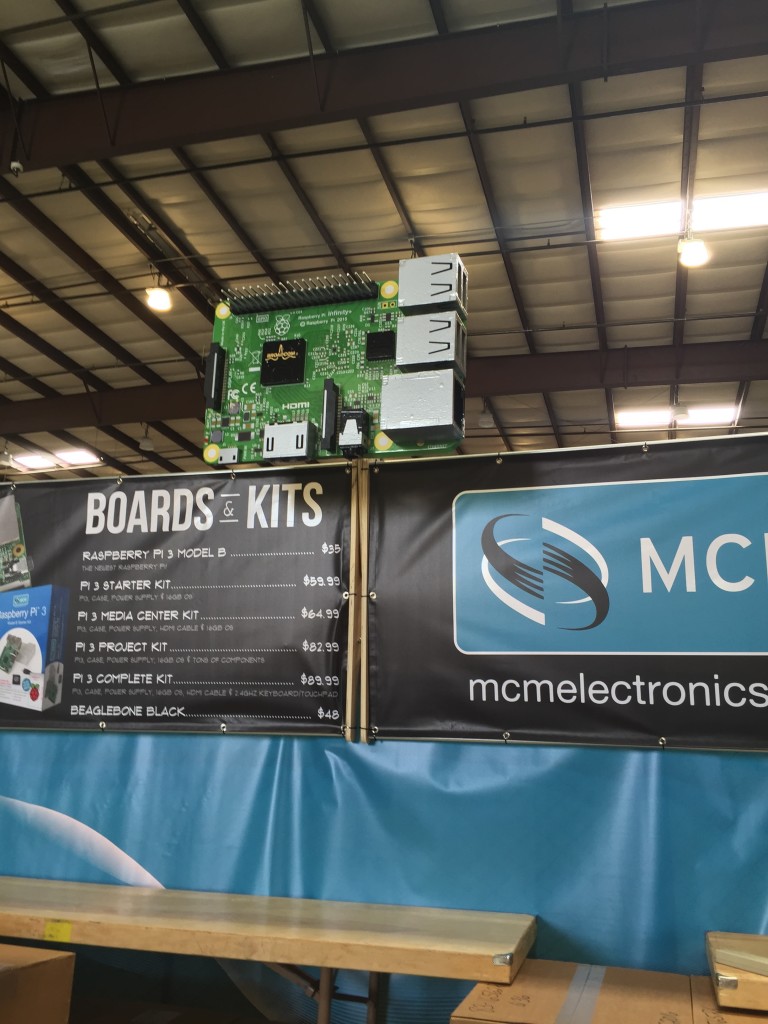
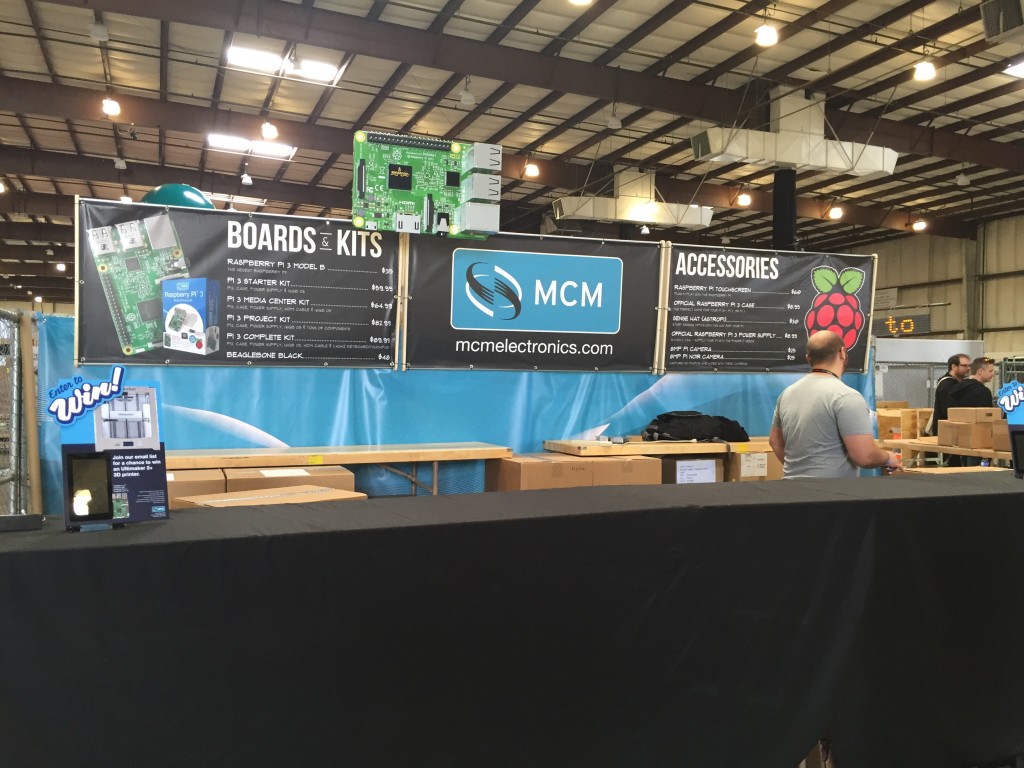
Thanks to my custom box and mad packing skillz the Pi Infinity+ arrived unscathed and looking great for its unboxing! We installed the Pi and installed it front and center on a custom CNC’d holder that we also fabricated. It booted and lit up as soon as it was powered on and began taking images just like we planned.
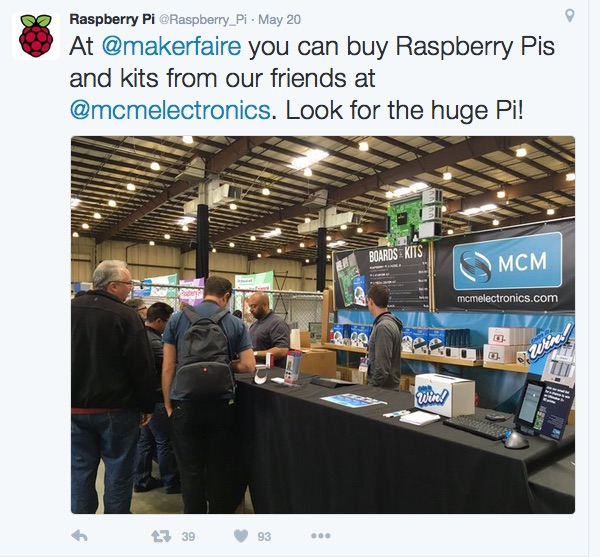
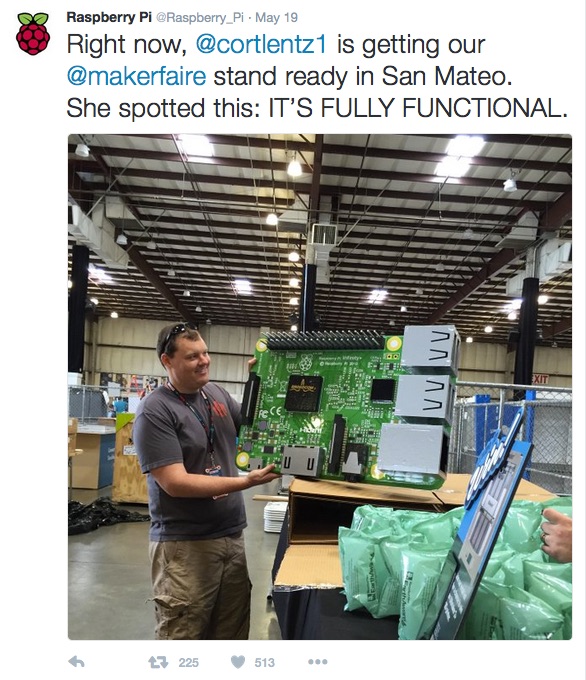
The response we received from the Infinity+ was great. People thought it was pretty cool when they saw it but then thought it was completely awesome when they found out it was functional. We even got some killer tweets from the Raspberry Pi Foundation!
Ready to build your own? Here’s our bill of materials with list of sources (I’m likely forgetting a thing or two.)
- 10x Scale Laminated Poster (front and back) – Digital Fringe
- Owens Corning FOAMULAR 250 XPS insulation – Menard’s
- 3M Super 77 Spray Adhesive – Menard’s
- 1/4″ Plywood – Shop Scraps
- 1/2″ Plywood – Shop Scraps
- 1/4″ Aluminum Rod – Ace Hardware
- Assorted Vinyl – US Cutters
- 3M VHB Tape – MCM Electronics
- Assorted Hookup Wire – MCM Electronics
- 10mm LEDs – I had these in my parts bin
- Raspberry Pi 3 – MCM Electronics
- Pi EZ-Connect HAT – MCM Electronics
- 8MP Raspberry Pi Camera – MCM Electronics
- 16GB microSD Card – MCM Electronics
- Panel Mount USB A to Micro Adapter – Also a parts bin find
Tools Used
- CNC Router
- Band-Saw
- Palm Sander
- Box Cutter
- Propane Torch
- Drill
- Vinyl Cutter
- Assorted Hand Tools
Software Used:
- Vectic Aspire CAD/CAM
- Adobe Ilustrator
Any ideas for gigantic accessories to accompany the Pi Infinity+? Let us know in the comments!!

You should do a 10x scale breadboard to go with it, with some other 10x scale doodads to play with too! Like maybe a few 10x scale LED’s, resistors, jumper wires and buttons? That way you could have your Infinity+ on display with the breadboard available for those interested to “play” with and get hands on with, maybe a terminal next to it too for simple scripting (Scratch maybe?).
Nice build!
Thanks for the kind words! I agree that we do need some accessories to make it seem less like a prop and more like a functional Pi. A giant breadboard with equally scaled components would be cool but would likely be a ton of work. We’ll see how ambitious we get before the next event we attend..
Very Cool! I would like to see a RGB LCD Shield plugged into that GPIO header!!
Me too! A giant SenseHAT would be awesome. We’ll see how ambitious we get between now and the next event we attend.
For soldering aluminium, apply some oil and rough up the surface to remove the unsolderable and non conductive oxidation. But im not sure this would stand up against the heat needed for such big parts but still, some oil makes it way easier to create a stable connection. 🙂
Also, great job!
Thanks! I tried everything I could think of but couldn’t get the solder to flux onto the aluminum. I sanded the rod then applied a liberal amount of flux and it still didn’t work. I’m sure there’s a way but I did this the night before it needed to ship out.
Yep, it’s awful in that way 🙂 aluminium oxidizes in a 1/1000 of a second so you need to keep oxygen away as you are removing the oxide. Such as by putting oil on it 🙂 the oxide is unsolderable and electrically isolating… But also very durable and forms an airtight skin around the metal, preventing further oxidation.
Amazing work!!!!! Congratulations! Would be cool a big SenseHAT attached on the board 🙂
Thanks! It was a blast to build. We have been thinking of creating big accessories like a Sense HAT or giant Nintendo controller. Maybe next year!